Travel Photography vol.1 - New Zealand

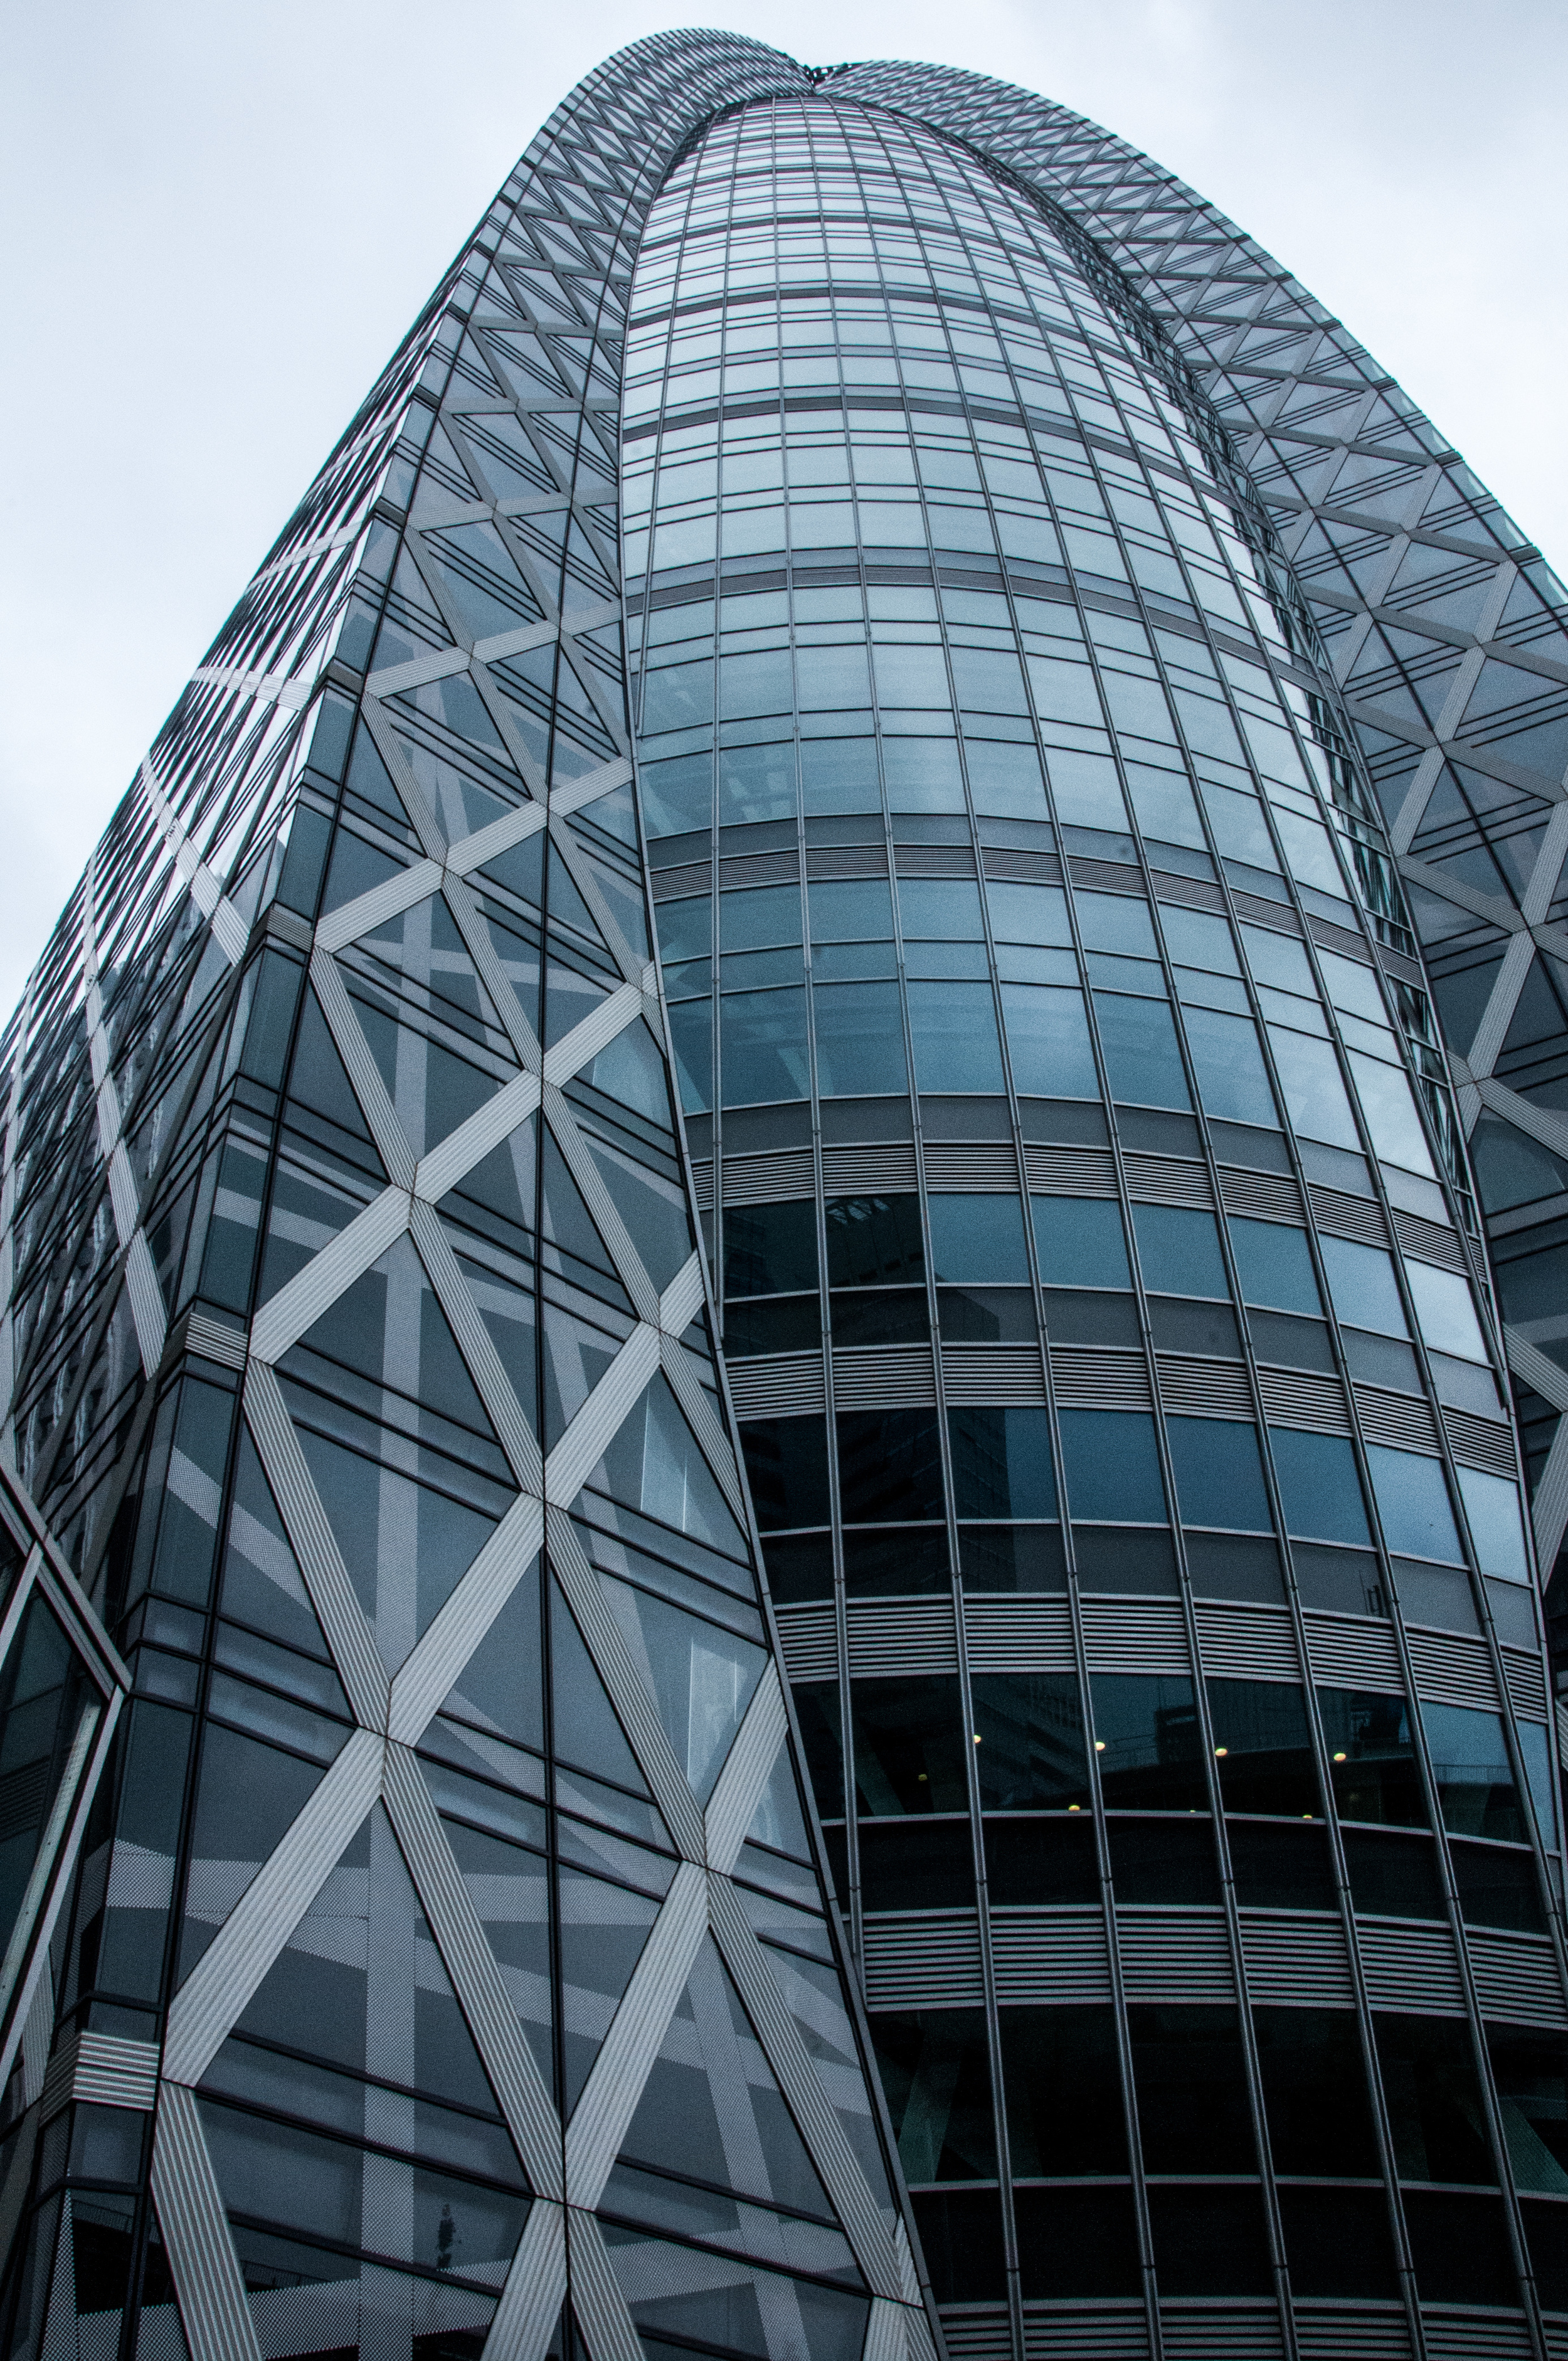
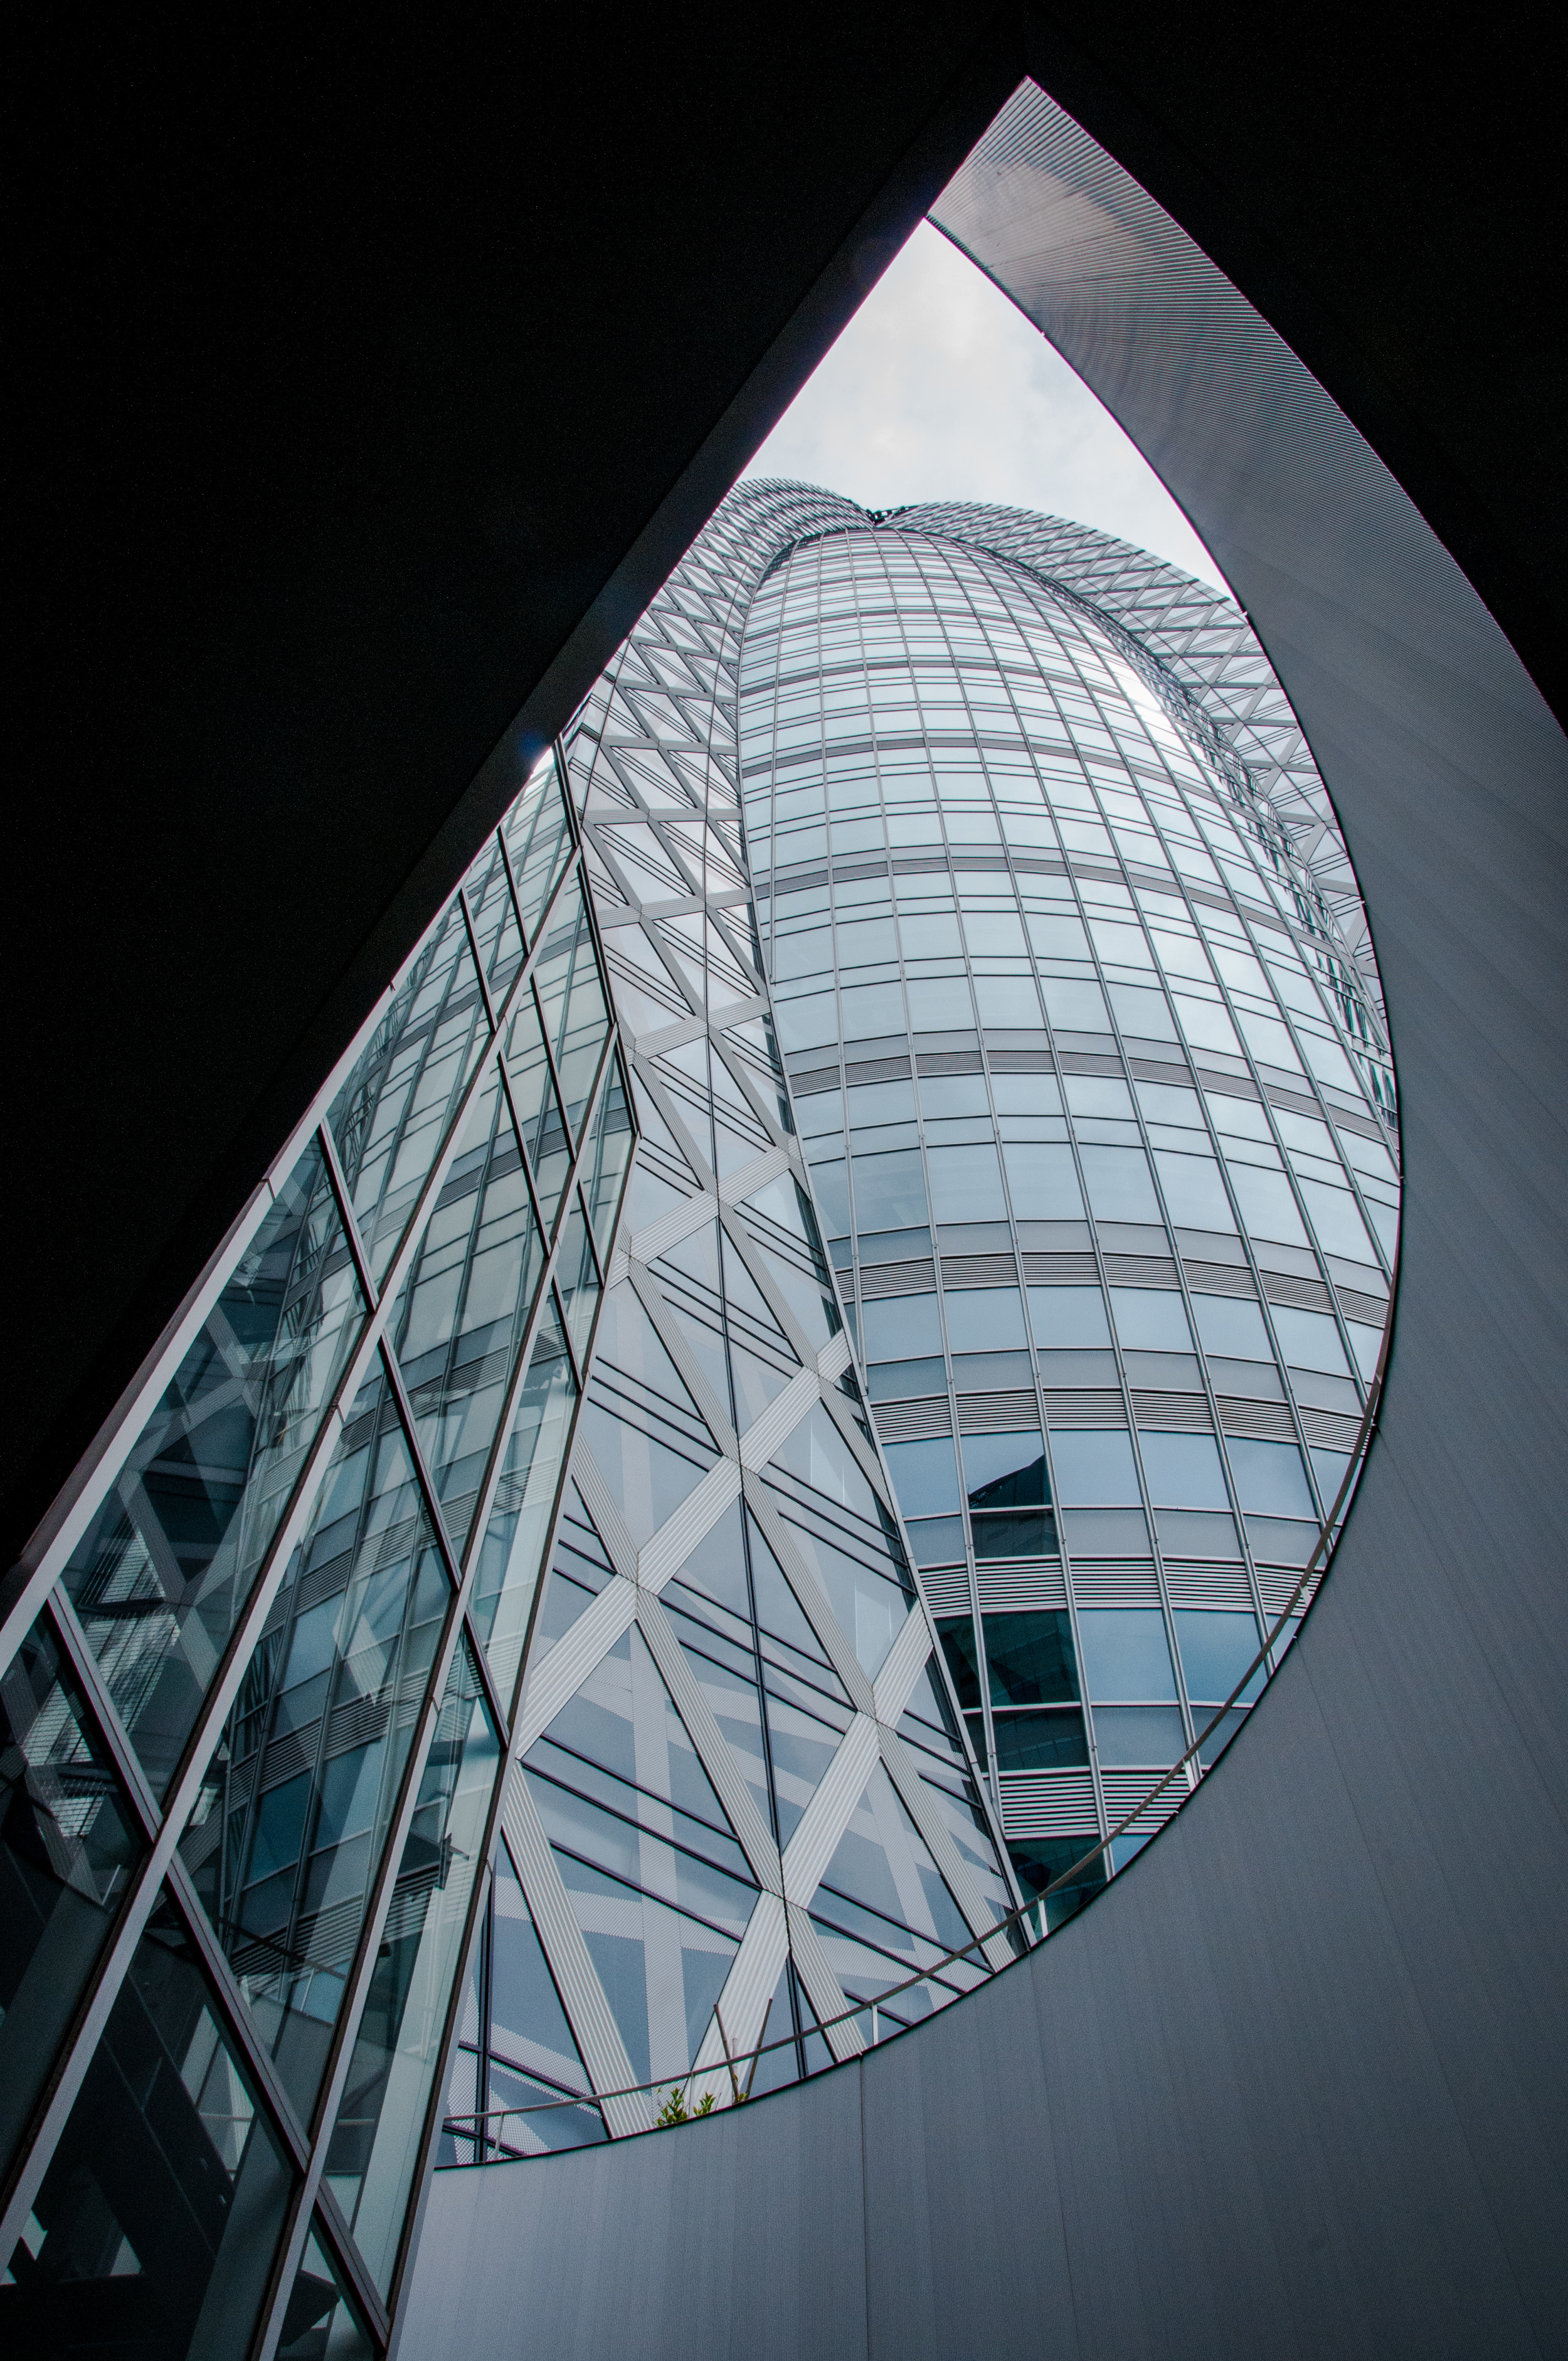
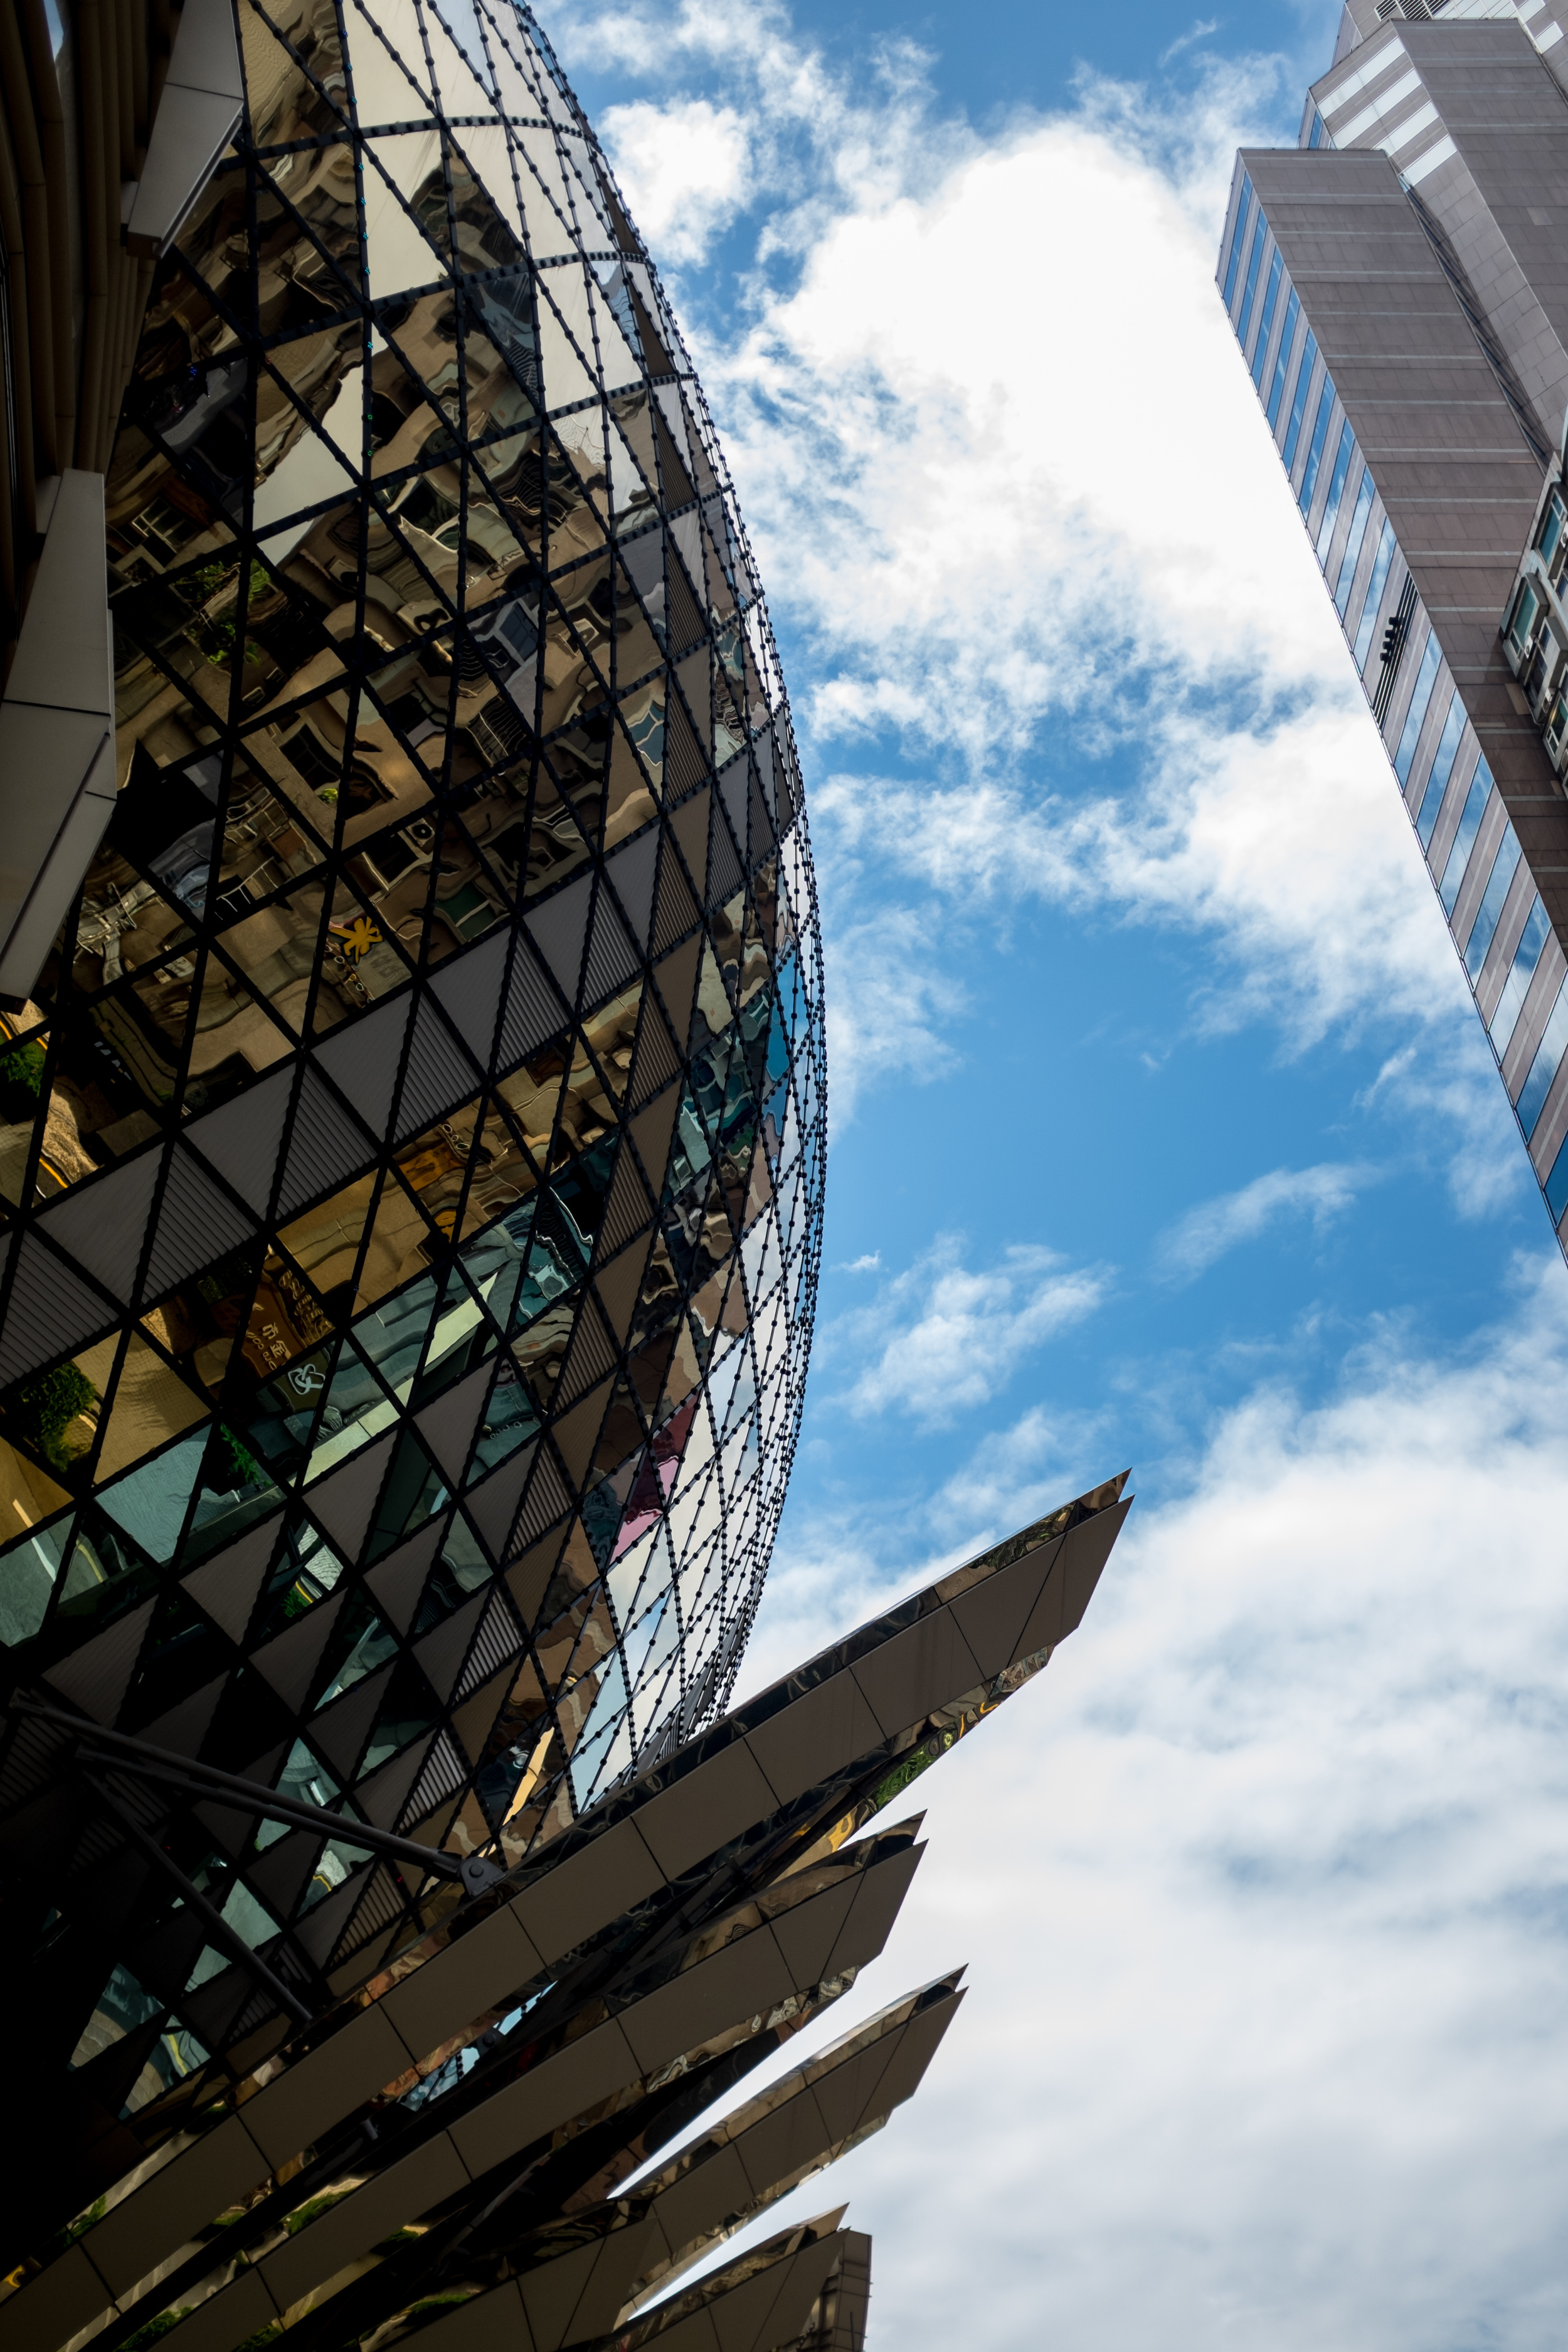
Everyone loves to travel, especially for photographers. Being able to see part of the world that you are not familiar with will not only stir up your creativity but also add a bit of variety to your usual portfolio. This time, I traveled to Australia's next door neighbour, New Zealand and see what they have to offer. 

Greeted by the amazing view of its Southern Alps, I knew the scenery would be amazing and it definitely did not disappoint. There are way too many great photos to put in this one post so I have put together a gallery of my best shots from this trip and you can check it out HERE

For this trip I packed a relatively small kit which is intended to be versatile and light enough to carry around with relative ease. I think this is a really important advise for travelling photographer because as much as it is important to get the picture that you want, it is also important to enjoy the experience. 

Tips and advise 

Here are some tips that I have picked up from this trip and hopefully it will help you plan your next photography adventure. 

1. Research

Research is definitely an important aspect of creating a stunning image. Do your research, whether it is via the internet, looking through books or asking other people who have been to the location before. Knowing what image you are trying to create and looking at images that other photographers have created will definitely get your creative juice following.

2. Compromise

The weather might not turn out well for you or there might not be enough time to get your shot, that is just part of travel photography. Rather than looking at it as a disappointing situation, make the most out of it! and see what you can get out of it.

3. Pack for all situations

You never know when it is going to rain or snow, bring raincoat, towels and cleaning kit to protect your gear. If there is still space, pack a jacket for yourself too.

4. Back up

There is nothing worst to have your memory card crashed on you after you got the best picture, so bring a portable hard drive to double or even triple back up your images. 

5. Enjoy

Travel is a great thing to do so enjoy it and share your photos with your companions! 


It was a great experience for me and I hope you will enjoy the photos as much as I enjoyed the trip. Once again, to check out the full album, please click HERE and feel free to check out my other blogposts by clicking HERE.

1st Place @ HKFA Photography Competition (Overseas Project)

It has been awhile since my last post as I was swamped by my final semester of university, however I am back with some great news. Recently I have entered into a photography competition organised by the Hong Kong Facade Association and one of my entries was awarded 1st place.

It was such an honour and a pleasure to receive an award and it's a great encouragement for me to keep shooting better and better images. This competition was focused on the art of facade and photography, so even though this wasn't the photo that I would personally picked as my best, it stands out from my other entries in terms of being related to the topic. You can check out the rest of the submissions below and I hope this will inspire you to get out and shoot more because that's the joy of photography! 

I will be back with more photography project blogposts soon and also restarting photo of the day very soon, so keep and eye out for new things being added! 

Until next time! 

Jonathan

Project #10 - Concert Photography

I have always enjoy music and what's better than combining the both and do concert photography. This set of photo were taken at a singing contest instead of a concert but the environment are fairly similar so I just want to share to you how I shot it and hopefully for those who are interested, you can learn something from it. 

Equipment & Settings

Gear isn't everything in most occasion but to take photos in this low light environment, it is essential for you to use a fast lens and preferably a telephoto zoom. I have used the 70-200 f/2.8 VRI and the Nikon D800e. I shot majority of the photos at f/2.8 - f/4 with a 1/200-1/320 sec shutter speed and ISO 800-1600. I made quick adjustment on the go to match the lighting changes and bump the ISO if necessary. 

Shooting Tips

So here are some tips that I found very useful when I shoot in these situations.

1. Shoot in Manual mode - because of the dramatic lighting changes and spot lights, your camera will have great difficulty to meter properly, so don't leave anything to chance and control everything yourself.

2. Use a zoom lens - this is more of a personal preference but zoom allows you to have greater flexibility with your framing whether you want a wide or tight shot. 

3. Anticipate the shot - musicians tend to move around during their performance, so try to anticipate where they are going and where you should place them in your frame

4. Be careful with your background - just like any photo, background matters just as much, I like to place them against dark background to eliminate distractions but if there is a band, include them in the back to add context.

5. Keep shooting - Shoot many frames because you never know if your photos are in perfect focus and whether the facial expression of the performer is flattering. So shoot more and make sure you get the shot.

6. Pay attention to the performer - Performers have different mic hands and different postures, make sure you notice which is their good side or which side you want to capture and position yourself to get that shot.

Post Processing

It is the best to get the best image you can get in camera, but editing is also a very important part of digital photography. I think for concert photography, the most important post processing skills will be balancing highlights and shadows because the performers are most likely to be lit by a strong spot light and the rest of the scene will be very dark, so It is important to bring down the highlights on the subject and maybe bring up the shadows of the background. I would also suggest paying attention to the white balance because the colour of the lights may affect the colour temperature of your pictures, whether you want to create effect by keeping the colours or correcting it to a more natural look, that will be up to your personal style. Below is a before and after image and I think it shows how important editing is to bring out the true image that I want to capture from the start.

Here is a gallery of the shots I took during the singing contest so feel free to check them out! 

I hope you enjoyed this post and feel free to share it with you friends who are interested in getting into concert photography. 

Until next time! 

Jonathan

Photo of the Day

Hi Everyone, 

For those who are following my facebook page (if you haven't, you should go and like it, by clicking here) you will know that I have been doing Photo of the Day for quite awhile now and I thought I should bring this to my website as well. This is going to be a better and more detailed version as I will be talking about background of the photo and include camera settings for those who are interested.

So, Please click here to check it out, save it to your favourites or bookmark it and enjoy a photo everyday! You can find all future POTD on the left and you will be able to find the recent POTD on the lower banner on the homepage! 

Until next time!

Jonathan 

Project #09 - Water Drop Photography

Another stuck at home idea for those who want to try something creative in the comfort of your own home. This should be something that you can easily put together with stuff that you already have, so lets go through it!

Equipment & Setup

In order to take your water drop photos, you will need your usual camera and lens, tripod and flashes (preferably 2, but 1 would still work). In terms of lens, I used the my macro lens to make sure I can fill the frame as much as possible but you can probably do with any lens that you have got. I would recommend using a longer focal length as it would allow you to have a narrower field of view. 

I have set up my shot as follow

The flashes are set up on both side of the water as above and they are firing towards the backdrop to get the colour in the photo. You can create a colourful image by choosing a colourful backdrop. I have used 2 flashes to get a well lit and balanced image but one will definitely suffice. 

The water drop is coming from a bag as you can see above and you can get the water dripping down by poking a tiny hole at the bottom. The size of the hole will dictate the drip size and also the frequency of the water droplets, so I recommend starting with a small hole and increase the size if needed. 

Settings & Shootings

Once you have set up you scene, all you need to do is to get the composition that you want and the focus right. You will most likely be at a close focusing distance due the small size of a water drop, so depth of field will definitely be a problem, it will be a fine tuning process to get the right aperture for you camera and lens combo. For you reference, my shots are taken at ISO100 with 1/320 sec shutter speed (due to camera sync speed) and at f/32 which gives me a bit more depth of field to work with. Both flashes are on 1/16 power (TTL should also work but if you are using manual flashes, don't forget to increase the power output when you are closing down the aperture). 

Once you have get the settings and lighting sorted, then all you need to focus on (pun intended) is the water drop. Getting sharp focus is very important for this type of photography and you can fine tune it once you start shooting. A handy tip is not to hang the bag too high as that will lead to more variation on where the water drops will fall. It will probably takes lots and lots of photos to get the one that you like and if you can get the frequency just right, you might be able to get a shot of two droplets colliding like this. 

Post Processing

There are plenty of post processing you can do with these photos, but I will just go through some basic ones that I think we can all handle pretty easily. 

As you can see, my backdrop was yellow but my pictures are blue and that's all down to post processing. Change the white balance allow you to easily manipulate the colours. I have chosen to use a plain colour backdrop because it was easy to find and it allows me to change colour very easily. As you can see, getting the lighting right in the first place makes post processing a lot easier. You can see my specific edits in the above picture which maybe able to give you a starting point but it is important to note that every photo should be edited individually so you will have to play around to get it to your liking. 

Final thoughts

Stuck at home doesn't mean that you can't create interesting images and I hope this will inspire you to go and shoot some great photos.

Thank you for reading and feel free to drop me a comment if you any questions. As always, please check out my portfolio if you want to see more, you can also find previous blog posts here. If you enjoy my photos, you can check out the online store too! Also, if you have any suggestions on what you want me to shoot next, feel free to leave a comment below and I will show you how I do it. 

Until next time!

Jonathan